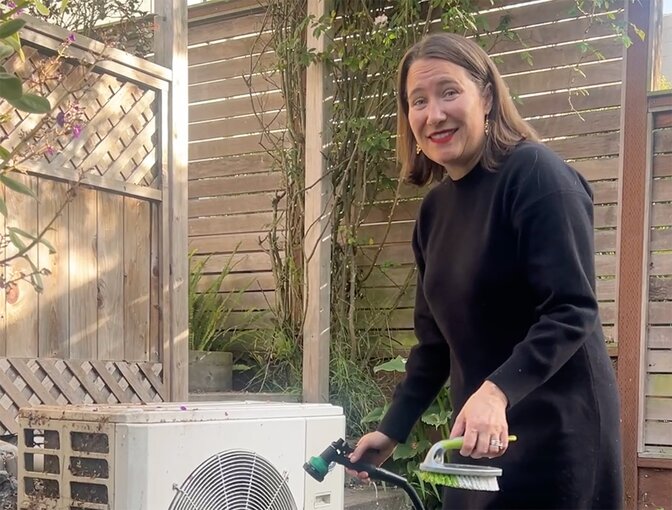
I’m gonna clean my heat pump because I just learned that apparently I'm supposed to do this every six months to increase efficiency and make sure that it's working well and that it lasts a long time. - Friday Apaliski
Your heat pump works hard to keep your home comfortable year-round. But if you want it to run efficiently—and save money on energy bills—regular maintenance is key. One of the simplest yet most effective things you can do from a maintenance perspective is to clean your outdoor heat pump unit.
If you’ve never done it before, don’t worry. We’ll walk you through why it’s important, how often to do it, and how to clean it safely and effectively.
Why cleaning your heat pump matters
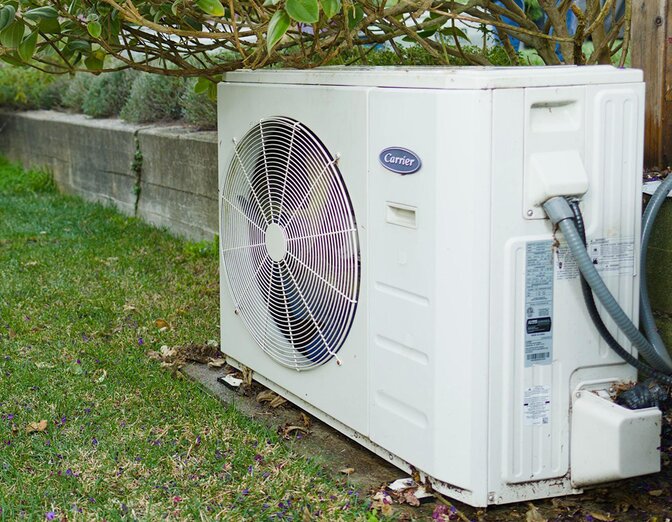
Your outdoor heat pump unit (also called the condenser) is constantly exposed to the elements. Dirt, leaves, pollen, and other debris can accumulate on the coils and fan, making it harder for the system to transfer heat efficiently.
Here’s what happens if you don’t clean it:
- Reduced efficiency – A clogged unit has to work harder, which means higher energy bills.
- Shorter lifespan – More strain on the system can lead to costly repairs or even early breakdown.
- Lower heating and cooling performance – A dirty heat pump won’t heat or cool your home as effectively.
A simple cleaning routine can keep your heat pump running smoothly and efficiently and help you avoid all of these things.

How often should you clean your heat pump?
Aim to check and clean your outdoor unit at least twice a year—once in the spring before cooling season and again in the fall before heating season. If you live in a particularly dusty or pollen-heavy area, you may need to do it more often.
How to clean your outdoor heat pump unit
Before you start, gather these supplies:
- A garden hose (with a gentle spray setting)
- A soft brush or cloth
- A screwdriver (if needed to remove panels)
- Work gloves and safety glasses (recommended)
Step 1: Turn off the power
For safety, switch off the heat pump using the disconnect switch, or even better, turn off the breaker panel for the unit. This prevents it from turning on while you’re cleaning it.
Step 2: Remove debris around the unit
Clear away leaves, grass, or other debris that may have accumulated around the base of the unit. Trim back any plants or bushes to allow at least two feet of clearance for proper airflow.
Step 3: Clean the condenser
Using a garden hose with a gentle spray (not a pressure washer), rinse the exterior of the unit spraying downward from above. This helps remove dirt and dust without bending the fins and helps delicate coils inside work more efficiently.
If dirt is stuck, gently use a soft brush or cloth to clean the coils. Avoid using any harsh chemicals, as they can damage the unit, and make sure to use the water to clean out the drain pan at the bottom of the unit.
Step 4: Check the fan blades and interior
If your unit is particularly dirty, you may need to remove the top panel to access the fan blades. Wipe them down with a damp cloth to remove any buildup.
Step 5: Reassemble and restore power
Once everything is clean and dry, put any removed panels back in place and turn the power back on (remember to turn the breaker back on if you switched it off during step 1).

Bonus: Professional maintenance
While cleaning your heat pump yourself is great for routine upkeep, it’s also smart to schedule a professional maintenance check once a year. A technician can inspect refrigerant levels, electrical components, and other internal parts to ensure everything is in top shape.
It’s a great practice to use the contractor who installed (and is already familiar with) your heat pump for regular maintenance, but if you need a new heat pump pro, use our Contractor Finder.